How to Order Custom Packaging Printing Online: Step-by-Step Guide
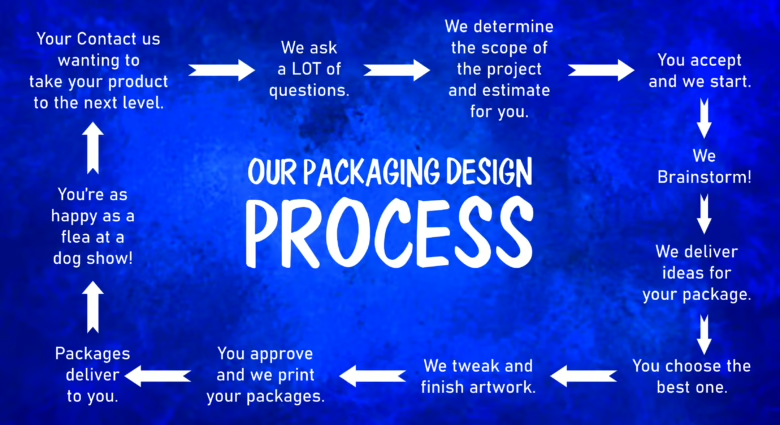
04/06/2025With the competitive market today, Custom Packaging Printing can differentiate your brand and make the unboxing experience more memorable. Whether you need printed cardboard boxes, corrugated packaging, or eco-friendly food-grade boxes, online Custom Packaging Printing services make it easier than ever. Follow this step-by-step process to receive high-quality packaging solutions delivered right to your doorstep.
1. Specify Your Packaging Needs
Prior to going to any printing website, specify your needs:
Product Type & Dimensions: Take the length, width, and height of your product to find the right box size.
Material & Structure: Select between corrugated cardboard, rigid boxes, or sustainable materials such as recycled paper.
Design Complexity: Determine whether you want basic single-color prints or all-color CMYK printing with specialty finishes (spot UV, matte lamination).
By defining these specifics, you’ll simplify the ordering process and skip expensive revisions.
2. Research Reputable Online Printers
Find an online custom packaging printer vendor that specializes in custom packaging printing. Keep in mind:
Portfolio & Reviews: See their previous jobs—look for brands which feature product packaging, gift boxes, or cosmetic packaging.
Printing Techniques: Make sure they support offset printing for high-volume runs or digital printing for quick turnaround and short runs.
Material Options: A quality printer must offer options such as kraft boxes, rigid configurations, or food-grade packaging.
Sustainability Practices: If green packaging is important to you, look for providers that use recycled stocks and soy-based inks.
Popular sites usually include live price calculators and 3D mockups so you can see the finished product.
3. Upload or Design Your Packaging
After selecting a printer, it’s time to lock in artwork:
Download the Dieline Template: Printers typically provide dieline files (EPS, AI, or PDF) for box layouts.
Design Your Artwork: Utilize graphic software (Adobe Illustrator, Photoshop) to position logos, product pictures, and text. Consider bleeds and safe areas.
In-House Design Tools: A few online services include drag-and-drop builders—great if you do not have a graphic designer.
Proofing & Approval: Check over the digital mockup meticulously. Ensure that colors, fonts, and sizes are in accordance with your brand standards.
A correct dieline and high-resolution graphics (at least 300 dpi) guarantee clean, professional results.
4. Choose Finishes & Special Features
Add value-added features to your packaging:
Lamination & Coating: Apply matte or gloss lamination to keep prints safe and enhance shelf attractiveness.
Spot UV & Embossing: Apply UV varnish or emboss/deboss finishes to accentuate logos and other design highlights.
Window Patches & Inserts: Incorporate die-cut windows or foam inserts for product viewing and protection.
QR Codes & NFC Tags: Include digital features for interactive unboxing experiences.
Every finish upgrades your brand packaging and makes your products stand out on jam-packed shelves.
5. Review Quotes & Order
With design and finishes agreed, collect quotes:
Quantity & Pricing: Online estimators will quote costs based on quantity ordered. Larger orders tend to lower the per-unit price.
Turnaround & Shipping: Verify production lead times (typically 5–10 business days) and shipping methods (standard or expedited).
Payment & Discounts: Search for bulk discounts, promo codes, or loyalty schemes. Pay through secure gateways (credit card, net banking).
After checking, order and wait for a digital proof or 3D render. After approval, the printer proceeds to production.
6. Quality Check & Delivery
When your custom packaging reaches you:
Inspect Samples: Verify print correctness, material uniformity, and structural solidity.
Test Fit: Put together some boxes and fill them with your products to test for snug fit and protection.
Report Issues Immediately: If you find any differences, report to customer support immediately for replacements or adjustments.
Most good printers have satisfaction warranties and will correct any print flaws.
FAQs
Q1. What is the best file format for packaging artwork?
Use vector-based file types such as AI, EPS, or high-resolution PDFs to maintain sharp lines and precise colors when offset or digitally printed.
Q2. Do you offer custom boxes in small quantities?
Yes. Digital printing makes short runs of as few as 50–100 units possible, which is economical for start-ups or special editions.
Q3. How much time does online custom packaging manufacturing take?
Standard lead times range from 5 to 10 business days. Rush orders may be available for an additional fee, with turnaround as fast as 48–72 hours.
Q4. Are eco-friendly materials more expensive?
Sustainable stocks (recycled paper, kraft boards) can cost slightly more than standard corrugated. However, many printers combine cost savings through bulk ordering and eco-discounts.
Q5. What is a dieline, and why is it important?
A dieline is a template layout that indicates where to make cuts, folds, and glue spots. It will make your design turn out perfectly aligned once the box is put together.
